

前回に引き続きQtCreatorを使って、アプリ開発の触りをまとめました。
前回はQtCreatorのインストールとアプリケーションを作る流れをまとめました。

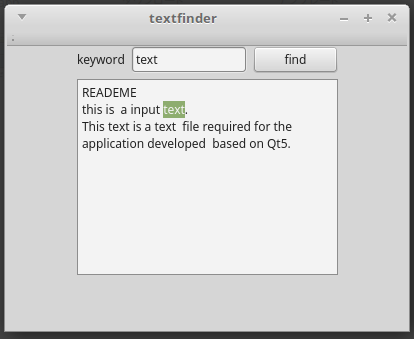
今回は、TextFinderを作っていきます。表示されたテキストから文字列を検索するという、なんてことないアプリです。
こんな感じのアプリです。
今回は、以下の公式サイトのドキュメントを参考にしました。
それでは順番に説明していきます。
開発環境
QtCreatorでプロジェクトの作成
新規プロジェクトの作成
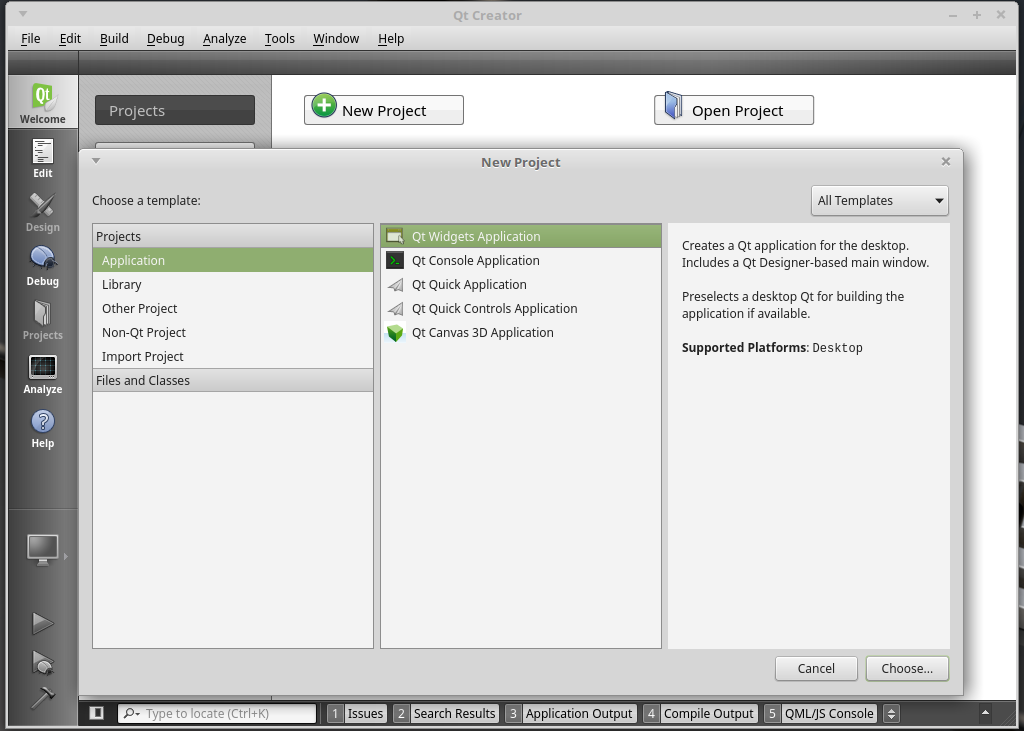
まずプロジェクトを作成します。
「New Project」→ 「Qt WidgetsApplication」を選択しましょう。
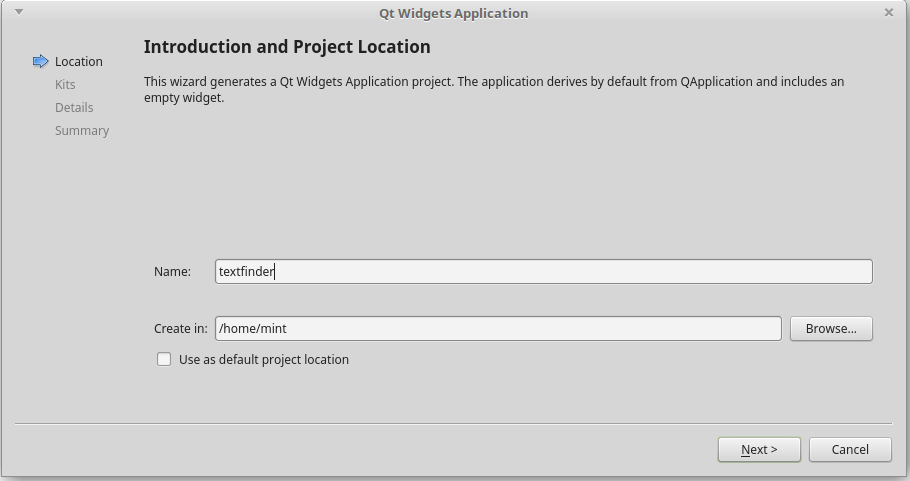
プロジェクトのファイルパスを設定
プロジェクトの保存先のファイルパスを設定しましょう。
Name:プロジェクト名
Create in : ファイルパス
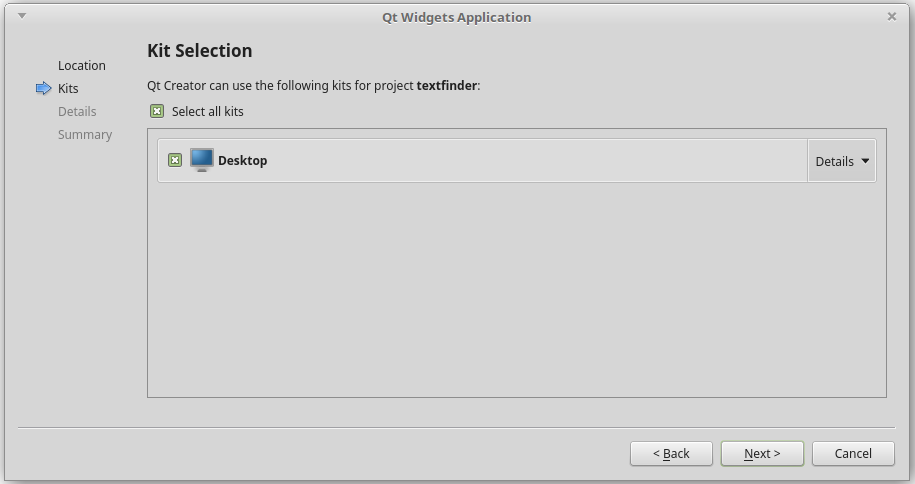
Kit Selectionを選択
Desktopを選択しましょう。
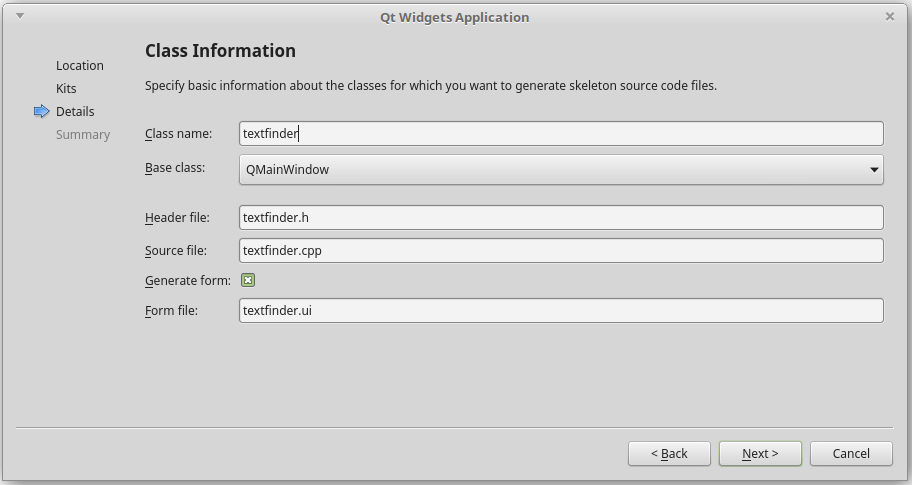
クラスの設定
Class Name : textfinder
Base class: QMainWinodw
Header file : textfinder.h
Source file : textfinder.cpp
Form file : textfinder.ui
プロジェクト管理
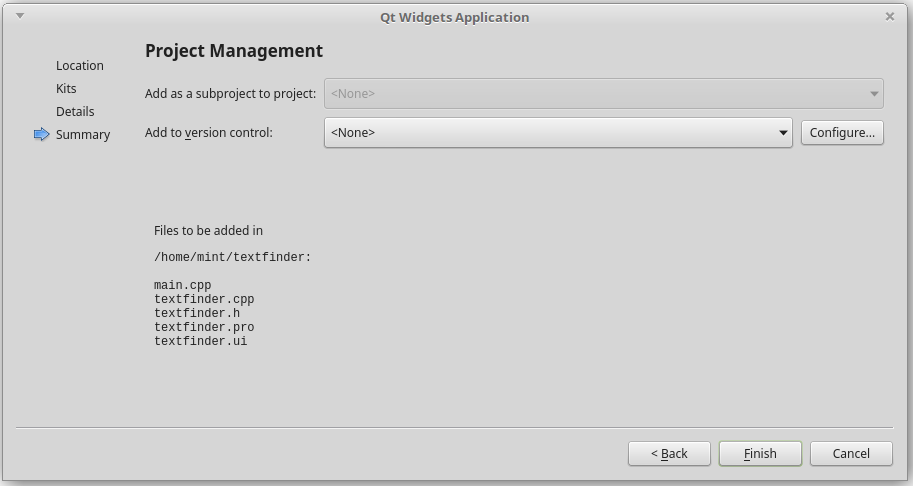
これでプロジェクトの作成は完了です。
UIコンポーネントを作成
プロジェクトを作成したのち、「textfinder.ui」をダブルクリックして、以下のエディタを開いてUI部品を配置しましょう。
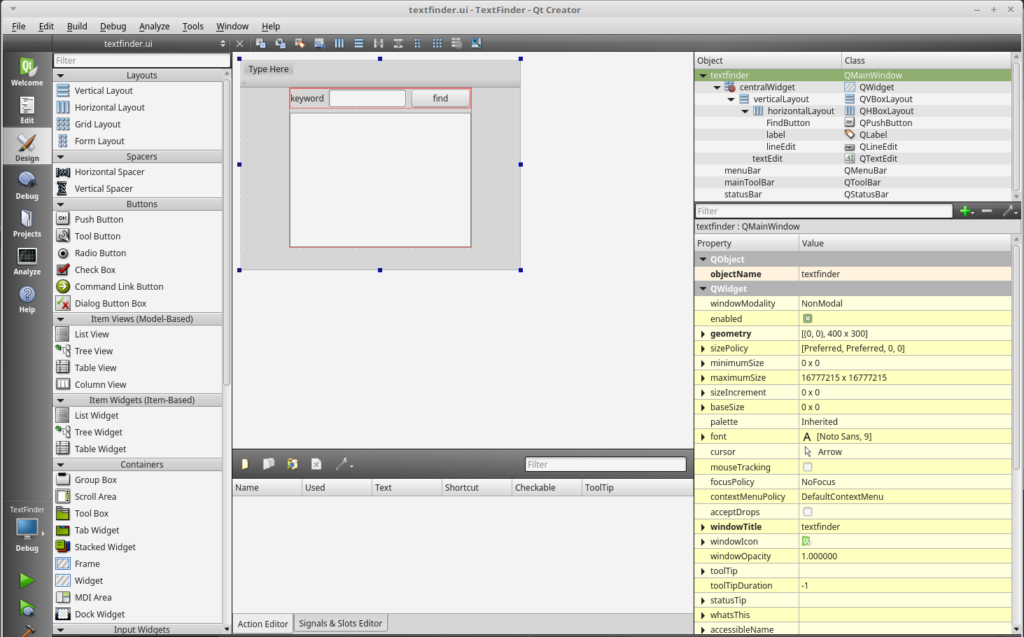
配置する部品は以下の通りです。
UI部品は、左の枠からドロップ&ドロップで配置することができます。
Label : Keywordにテキストを変更
lineEdite : 特に変更なし
PushButton : テキストを「find」に変更し、QObject名はFindButtonに変更
TextEdit:変更なし

またUI部品をキレイに配置していきましょう。
①まずレイアウトを整えたいUI部品を選択します。
②「Lay Out Horizontally」をクリックする。
※同様に先ほどの部品とTextEditerを「LayOut Vertically」でレイアウトを整えます。

これでUI部品の配置は完了です。
次に、スクリプトを編集していきます。
ヘッダーファイル(textfinder.h)を編集する
privateセクションに宣言されている「Ui::textfinder *ui;」の下に以下のコードを追加します。
また、追加後のヘッダーファイルを載せておきます。
#ifndef TEXTFINDER_H
#define TEXTFINDER_H

#include <QMainWindow>

namespace Ui {
class textfinder;
}

class textfinder : public QMainWindow
{
    Q_OBJECT

public:
    explicit textfinder(QWidget *parent = 0);
    ~textfinder();

private slots:
    void on_FindButton_clicked();

private:
    Ui::textfinder *ui;
    void loadTextFile(); << 追加
};

#endif // TEXTFINDER_H
textfinder.cppを編集する
まずloadTextFile関数を実装していきます。
loadTextFile関数は、指定のファイルを読み込むための関数になります。
textfinder.cppの最終行に以下のコードを追加します。
void textfinder::loadTextFile()
{
    QFile inputFile(":/input.txt");
    inputFile.open(QIODevice::ReadOnly);

    QTextStream in(&inputFile);
    QString line = in.readAll();
    inputFile.close();

    ui->textEdit->setPlainText(line);
    QTextCursor cursor= ui->textEdit->textCursor();
    cursor.movePosition(QTextCursor::Start,QTextCursor::MoveAnchor,1);
}
QFileでファイルを読み込みます。その後、QTextStremで読み込み、かつ読み取り専用で開きます。
テキストファイルは、このあと作成するのでファイル名はなんでもOKです。
今回は、この後input.txtを作成するので、inpiutFile(“:/input.txt”)としておきます。
ファイルを全て読み込んだら、開いたファイルを閉じる作業をおこないます。
続いて、QFileとQTextStreamを使用するために、ヘッダーファイルをインクルードします。
#include <QFile>
#include <QTextStream>
on_FindButton_Clickededのスロットを実装
「Find」ボタンが押された時の機能を実装しましょう。
void textfinder::on_FindButton_clicked()
{
    QString searchString = ui->lineEdit->text();
    ui->textEdit->find(searchString,QTextDocument::FindWholeWords);
}
lineEditで検索するキーワードを取得し、変数searchStringに代入します。
そして、find関数を使用して、searchStringに格納されたテキストを、読み込んだテキストに完全マッチする箇所を検索します。
また、QtCreatorで自動生成されたtextfinder.cppでui_textfinder.hという存在しないファイルをインクルードします。
これは、コンパイル時にユーザーインターフェースコンパイラ(uic)によって生成されるものになります。
そのため以下のコードは、どこかに追加する必要ありません。
on_FindButton_clickedスロットはui_textfinder.h-sonokawaで以下のシグナルと接続されるみたいです。
QMetaObject::connectSlotsByName(this);また、シグナルとスロットについては公式ドキュメントに記載されています。

最後にリソースファイルの設定です。
リソースファイルの追加
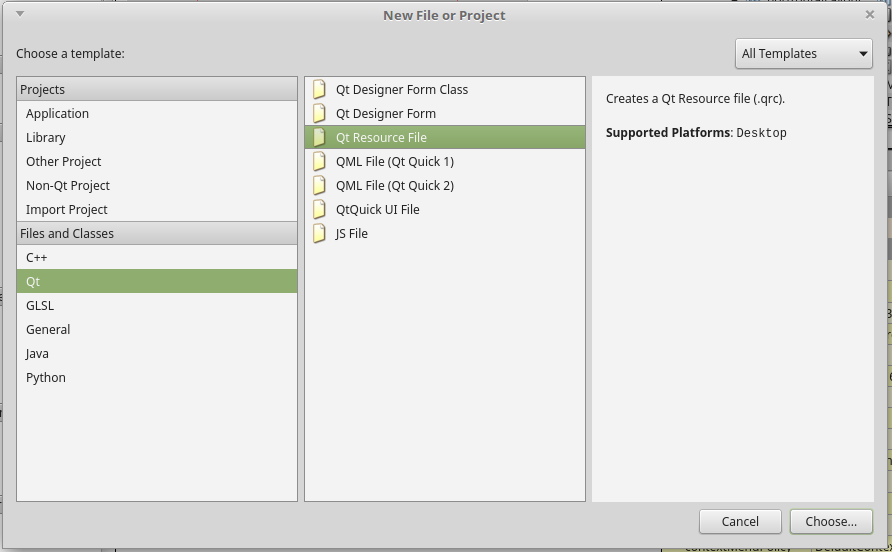
「File」→「New File or Project」を選択すると以下のダイアログが表示されます。
「Qt」→「Qt Resource File」を選択し次に進みます。
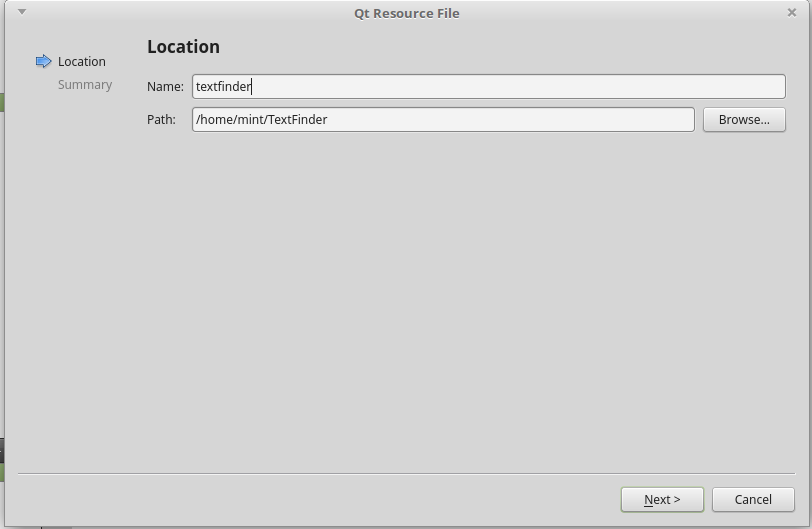
次に、ファイルの追加場所を指定します。
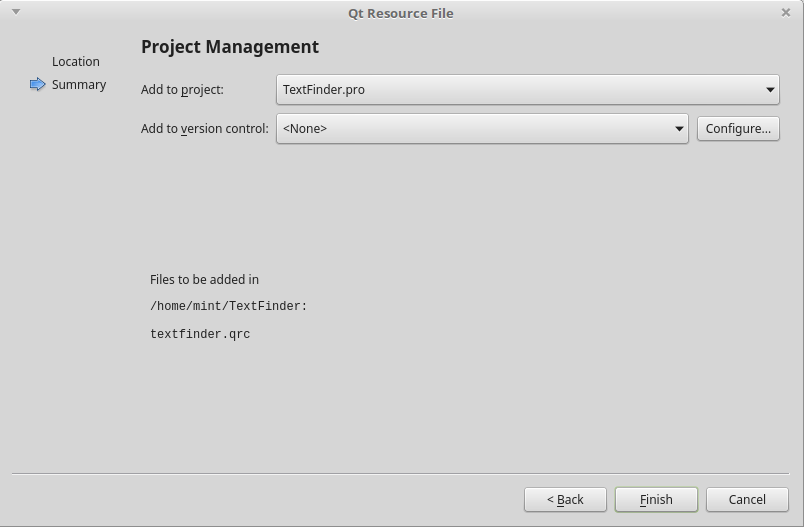
概要は問題なければ、「Finish」ボタンを押します。
すると以下の項目が画面下に表示されます。
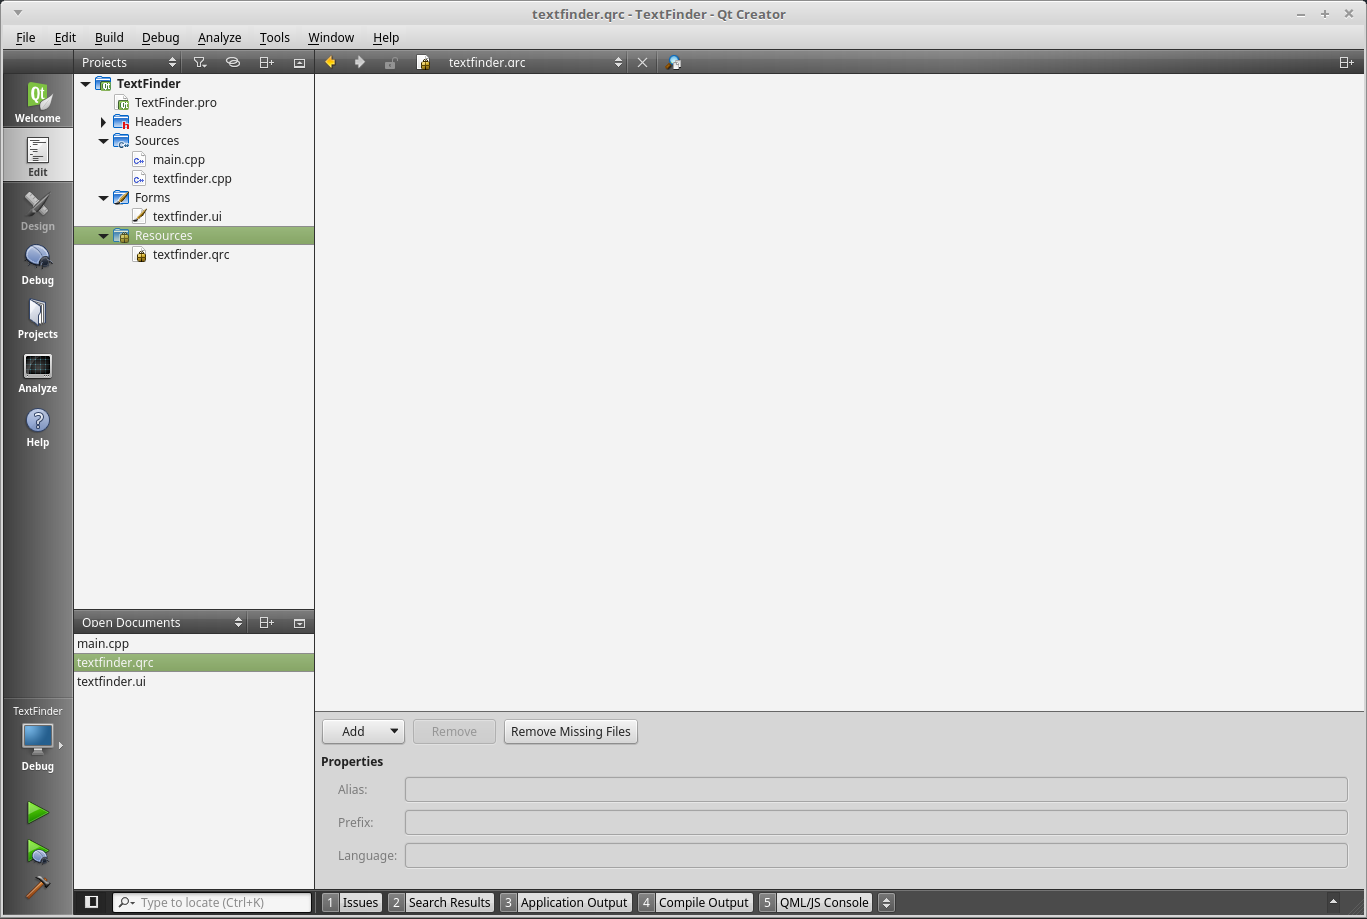
「Add」→「Prefix」を選択し、Prefix欄に「/」と記入しましょう。
その後、再度「Add」→「files」を選択し、こちらで適当に作った「input.txt」を選択します。
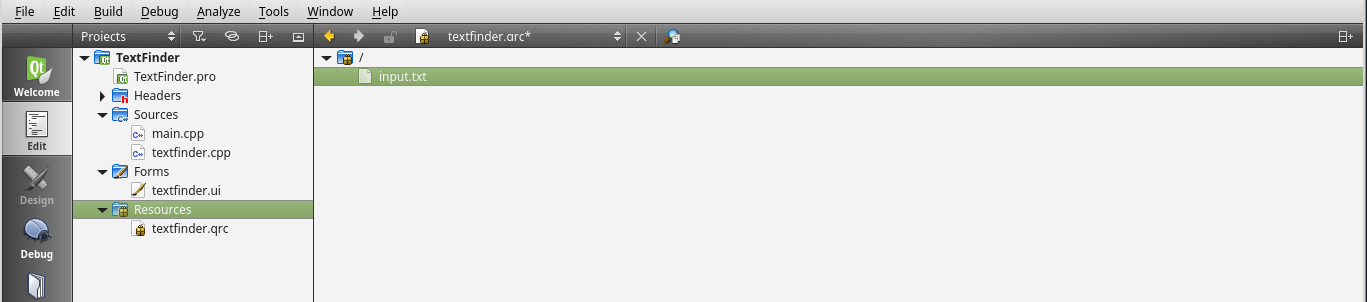
すると、以下の画面のように、Resource以下に、「textfinder.qrc」さらにその下に「input.txt」が追加されているはずです。
ここまで出来たらデバッグして動作を確認ましょう。
qmake && make
最後にビルドしましょう。
Linuxの場合、「端末」を開いてプロジェクトが格納されているディレクトリに移動しましょう。
>> cd testfinder
>> qmake
>> make
実行ファイルtestfinderが作成されていれば成功です。
以下のコードを端末で実行することで、作成したアプリケーションを起動させることが出来ます。
./testfinder

コメント